

Introduction: Arduino Propeller Message Display (POV)


In this project I want to show you the Persistence Of Vision (POV) to generating a rotating message in the air using only 10 LEDs. It is also called "POV stick".
The apparatus consists of flashing and rotating 8 LEDs at a frequency such that the human eye does not notice a discontinuity in the formation of the message.
All characters that forms the message will be swept (column by column) and the angular rotation speed of the device, combined with the flashing speed of the LEDs will generate the image in the air as if it were for and complete message.
Comcepts:
The system requires: an adjustable power supply, a DC motor, a uController, a positioning and rotation system, a battery and some Light Emitting Diodes LEDs
The figure shows the System Block Diagram.
Using variable voltage it is posible to control the DC motor rotation speed (delaying or advancing the system zero point (begining or ending of a whole revolution) that determines when the system should start a new message loop ...
The reed switch is the component that detects this point, the SW does the rest (it will flash the LEDs according of the message letters in a specific speed (persistence of vision delay).
Step 1: The Parts


1 - Arduino Nano (the uController used in the system): The choice of this uController should be a small, lightweight and can be powered from 3.3V.
2 - LEDs: LED - Light Emitting Diode. There are a variety of them in the market (shapes, sizes, colors, etc) - choose a bright LED - I used 2 x red and 8 x blue.
3 - Reed switch + Magnet: Reed Switch is a switch (in ampoule format) of magnetic effect, ie it closes in the presence of a magnetic field. Used in the system to control the passage (complete revolution) by a zero point. Every time the system detects this point it is time to restart the process and re-trigger the message generation. With this we can control the angular speed of rotation (associated with a variable voltage in the motor).
4 - Neodymiun Magnets: Small, cheap but strong ... I used 8 x circular magnets with 1mm x 10mm.
5 - DC Motor: The engine that will provide system rotation. The speed and rotation will be controlled by voltage variation applied to the motor and in the system the reed switch will detect when a lap has been completed, restarting the process of generating the message in the software.
6 - Battery: To power the system (uController and LEDs) we must use a battery with good charge and 3.7V and it must be light. The best option is a Lipo battery. 3.7V / 850mA.
7 - Resistors: To controls the current in the LEDs and to make the pull-down of the Reed-Switch sensor.
10 x 220R
1 x 10K
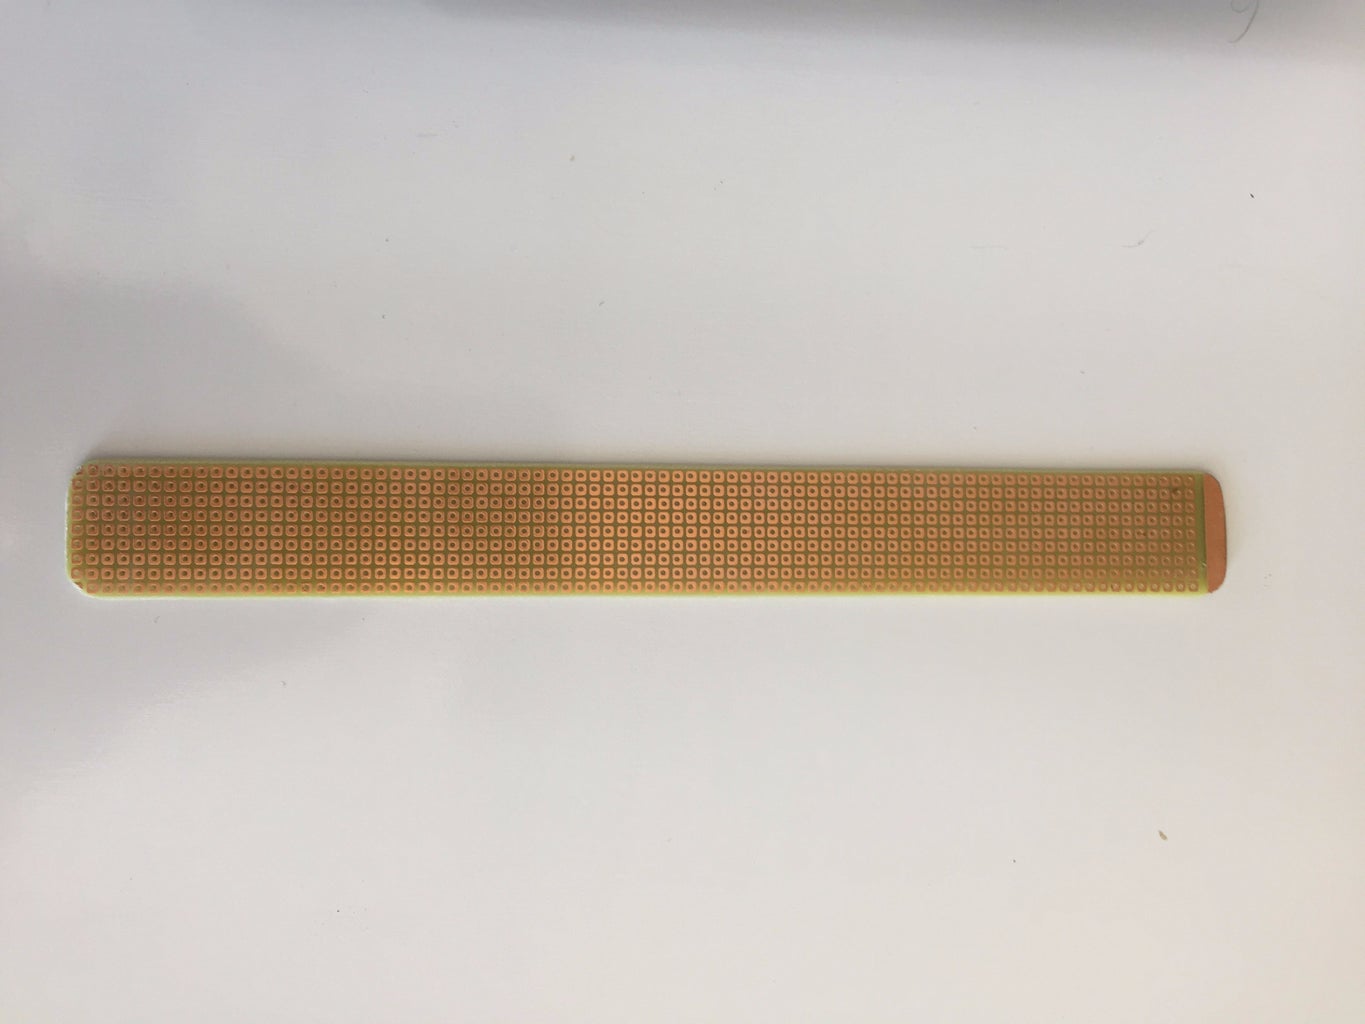
8 - PCB - Printed Circuit Board: Perforated plate in islands. With at least 210mm by 25mm...
9 - Others: Micro-Switch 1 pole x 2 positions, wire, tools, glue, etc.
Step 2: Diagram

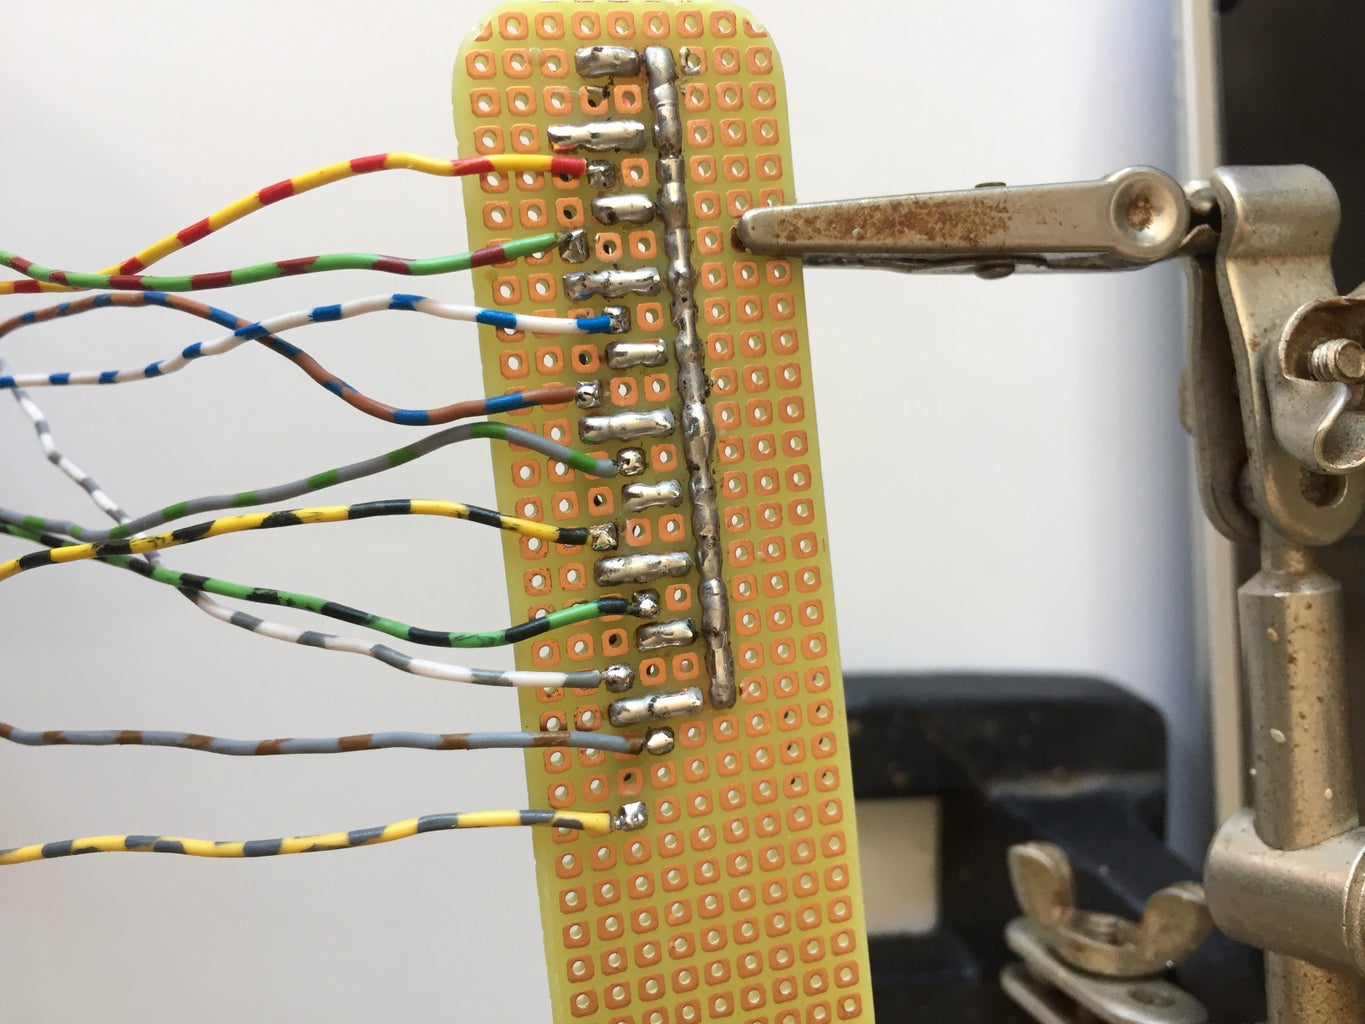
The full diagram is shown in the figure.
A simple wiring of Arduino NANO with the LEDs and Reed-Switch.
Step 3: Code and Librarie

You can download the code and libraries at GitHub:
GitHub to download the code and library
Or ask me by email:
arduinobymyself@gmail.com
You also can view my original publication at arduinobymyself.blogspot.com.br (in Portuguese);
January, 2nd 2017 - addes the digital clock feature. Go to GitHub to download it.
Note for Time library: The Newest Arduino's IDE version does not support this library.
So all SW's project was done in the 1.0.5 arduino's IDE version. You can download the Time library at the GitHub.
Step 4: Photos and Videos


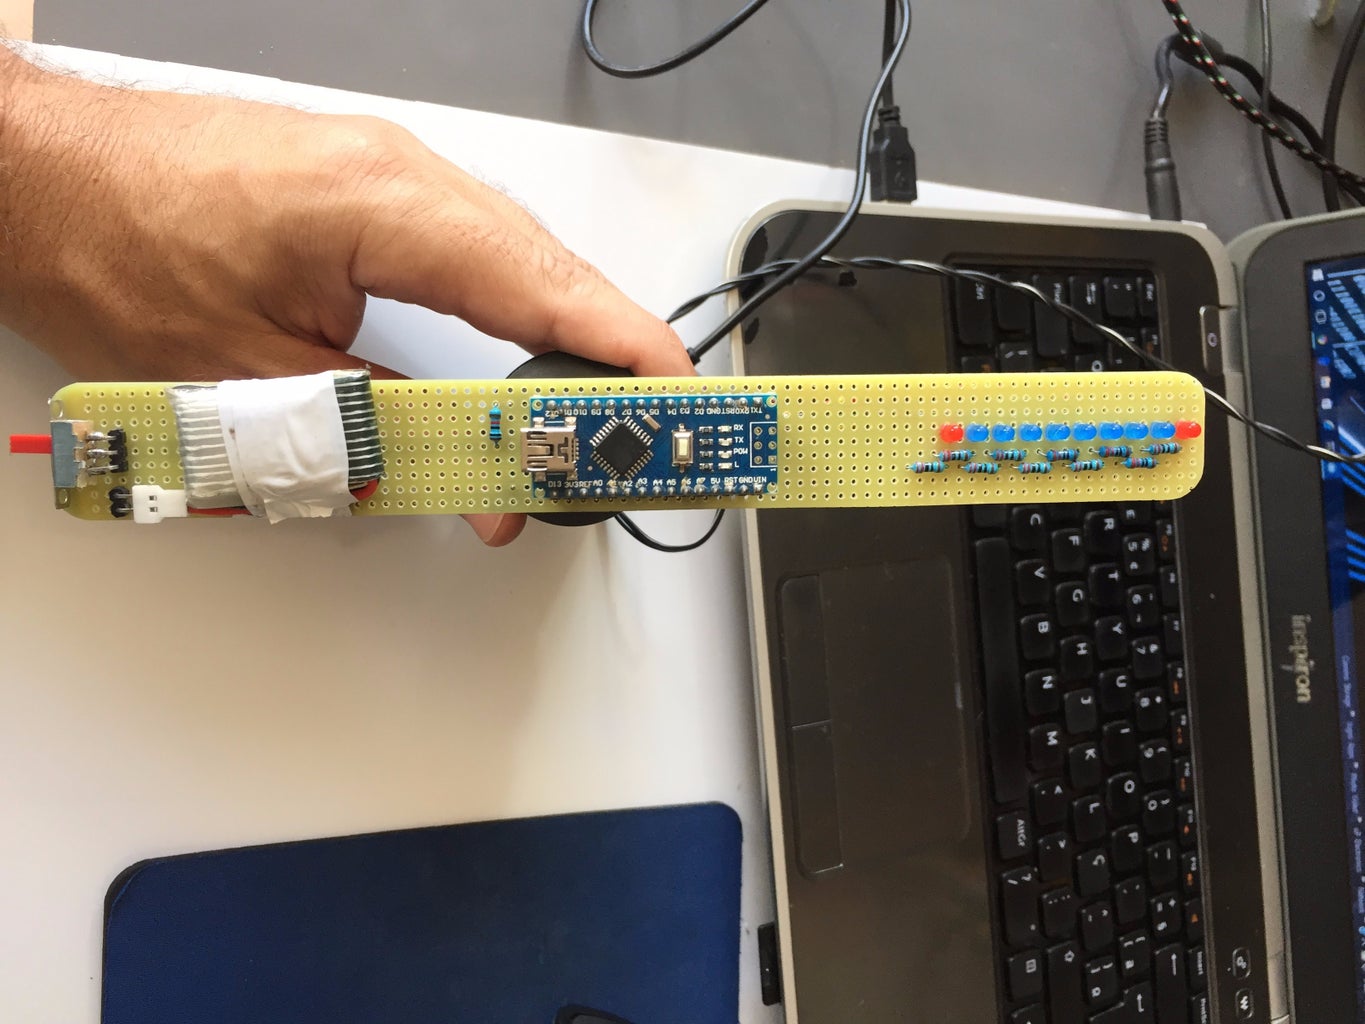


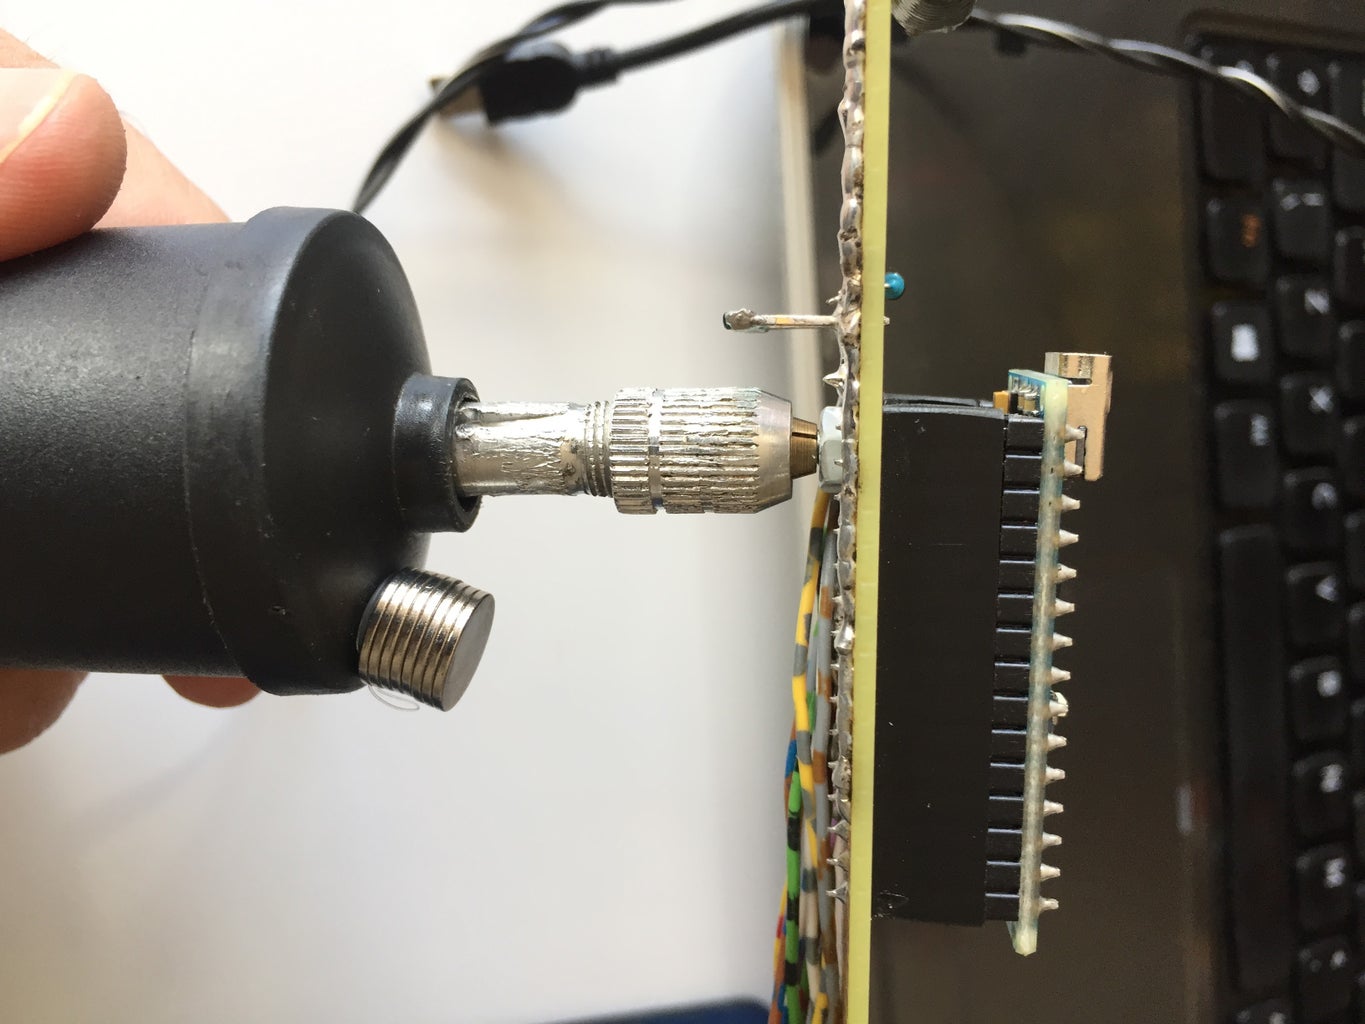


These are some photos and simple videos of the entire project and results.
There are still some adjustments and new codes (such as digital and analog clock), but it is already up and running and ready to be explored .....
I will also post new results on youtube .... Project in progress .......
I hope I have helped someone to reach this objective too.
Thanks a lot and Best Regards
Greetings from Brazil for all people.
Step 5: Further Contacts

My contact channels:
1 - Blogger:
arduinobymyself.blogspot.com.br
2 - youtube:
https://www.youtube.com/user/marcelomoraes1971/vi...
3 - Skype:
marcelo.moraes
4 - Instructables:
https://www.instructables.com/member/BIGDOG1971/
5 - GitHub:
https://github.com/Arduinobymyself/
6 - google+:
https://plus.google.com/u/0/+MarceloMoraes
7 - E-mails:
arduinobymyself@gmail.com
marcelo.moraes.1971@gmail.com
marcelo.pinto.moraes@gmail.com
H4ck3r1971@gmail.com
marcelo_moraes@hotmail.com

Participated in the
Homemade Gifts Contest 2016

Participated in the
Make it Glow Contest 2016

Participated in the
Arduino Contest 2016


